Installation
We provide several ways to use badlands from:
- live demo using binder
- to docker image or
- local install via PyPI package.
Binder
Badlands’ binder link above will launch a temporary Jupyter server just for you, running on mybinder.org and containing badlands libraries and dependencies.
Warning
Binder is meant for interactive and ephemeral interactive coding, meaning that it is ideally suited for relatively short sessions. Binder will automatically shut down user sessions that have more than 10 minutes of inactivity.
Two examples are provided and should be all done in less than 10 minutes each.
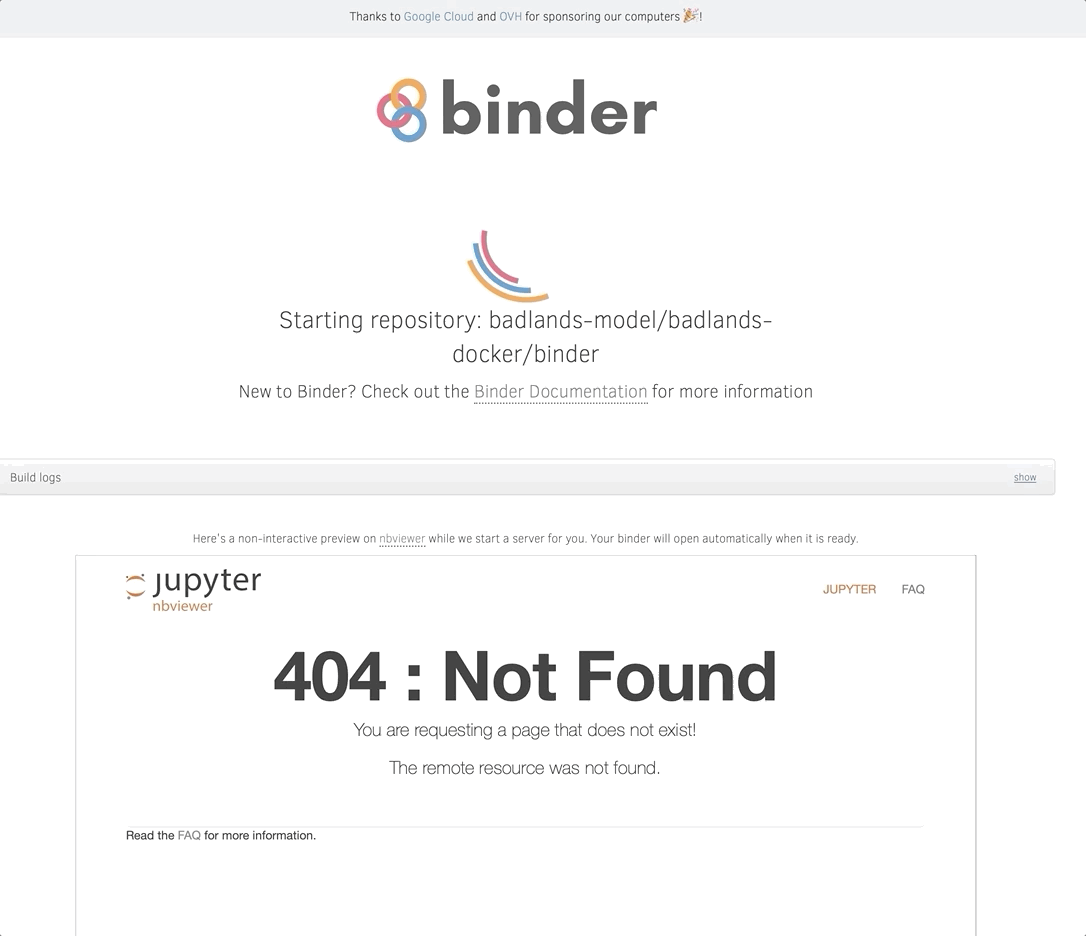
Click on the animated figure above to run the live demo 💣
Important
The binder is mostly used to present a short live demo of badlands, it is limited in capacity and will not replace a full working environment. It gives you a flavour of it before starting the installation!
Docker
If you like the live demo, you can install badlands via Docker!
Docker is a type of lightweight virtualisation, and is the preferred method for badlands usage on personal computers. You will first need to install Docker on your system, and then you may install badlands via Docker.
Note
Docker may be driven from the command line, but new users may wish to use the Docker Kitematic GUI instead for ease.
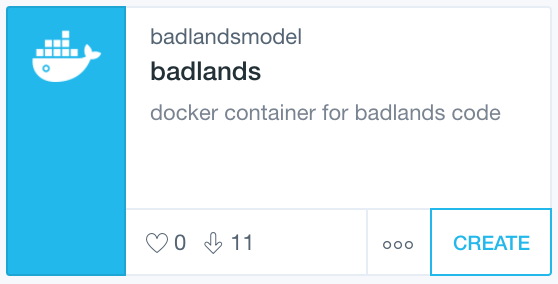
Search for badlandsmodel within Kitematic and then click ‘CREATE’ to install the container named badlands (see figure above). You will eventually wish to modify your container settings (again through Kitematic) to enable local folder volume mapping, which will allow you to access your local drives within your container.
For Linux users, and those who prefer the command line, the following minimal command should be sufficient to access the badlands Jupyter Notebook examples:
docker pull badlandsmodel/badlands
Once downloaded you will now be able to run badlands locally.
Important
You only need to pull the image once. Once it is installed you will only have to run the following command to start the code.
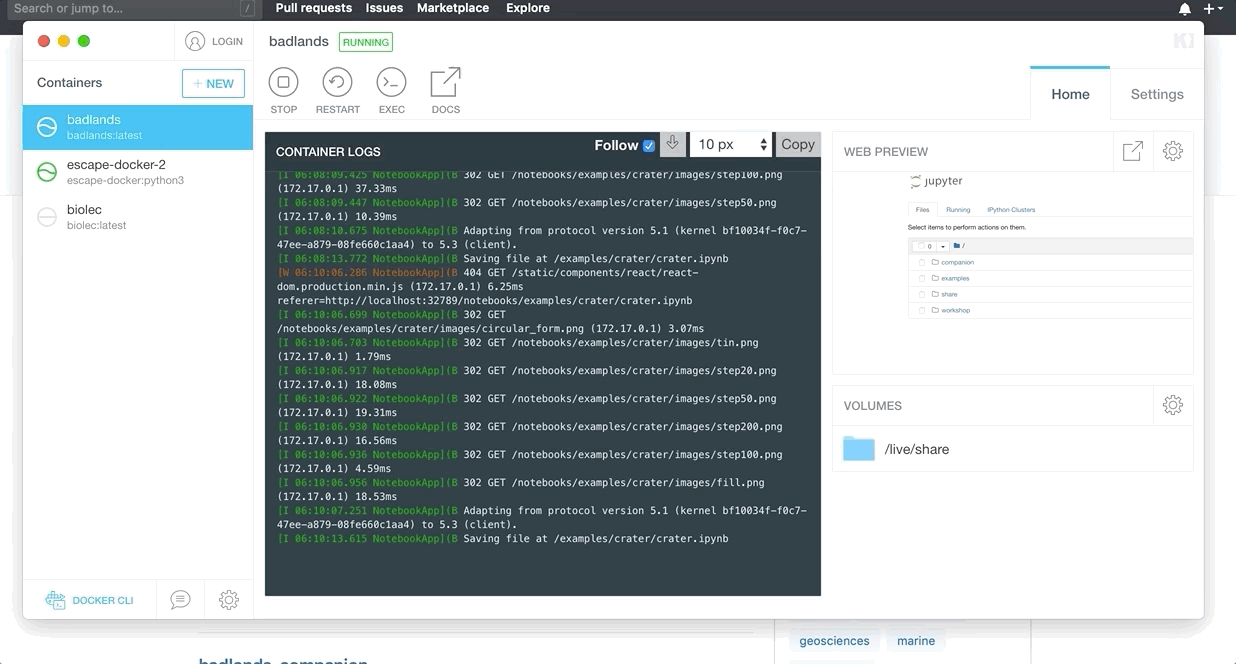
docker run -it -p 8888:8888 -v "$PWD":/live/share badlandsmodel/badlands
Navigate to localhost:8888 to see the notebooks.
This command will create a new container using the `badlandsmodel/badlands`_ image. Note that it will first check to see if the image exists locally, and otherwise will download a copy from the Docker Hub. This will only happen the first time you run the command; subsequent execution will use the downloaded image.
Once the new instance is created, badlands’ image is launched within the container. Note that we also pass an option of the form -p host_port:docker_port which tells docker to perform a port mapping from the docker instance to the host. This allows us to use our native web browser to access the active docker notebook instance at http://localhost:8888/.
For interactive processes (like a shell), we must use -i -t together in order to allocate a tty for the container process. -i -t is often written -it as see in the command above.
Finally, the -v command or --volume=[host-src:]container-dest attach a volume or folder from the local computer to the container shared folder (here /live/share). The host-src is an absolute path or a name value and in the command above correspond to the place where the command is run from.
| Running Docker image |
Python package

| PyPI installation |
If you would like a native local build, you will need to download, install and compile the badlands code and relevant dependencies.
We have created a Python3 Package that should handle all dependencies for you. And the recommended install is through the PyPI package:
sudo pip3 install badlands
sudo pip3 install badlands-companion
PyPI packages should install the following dependencies (requirements.txt):
|
|
|
|
|
|
|
|
|
|
|
|
|
|
|
|
| Git installation |
Alternatively you can install badlands from the GitHub source:
First, clone badlands & badlands-companion using git:
git clone https://github.com/badlands-model/badlands.git
git clone https://github.com/badlands-model/badlands-companion.git
Then, cd to the respective folder and run the install command:
cd badlands/badlands
sudo python3 setup.py install
cd ../../badlands-companion
sudo python3 setup.py install